
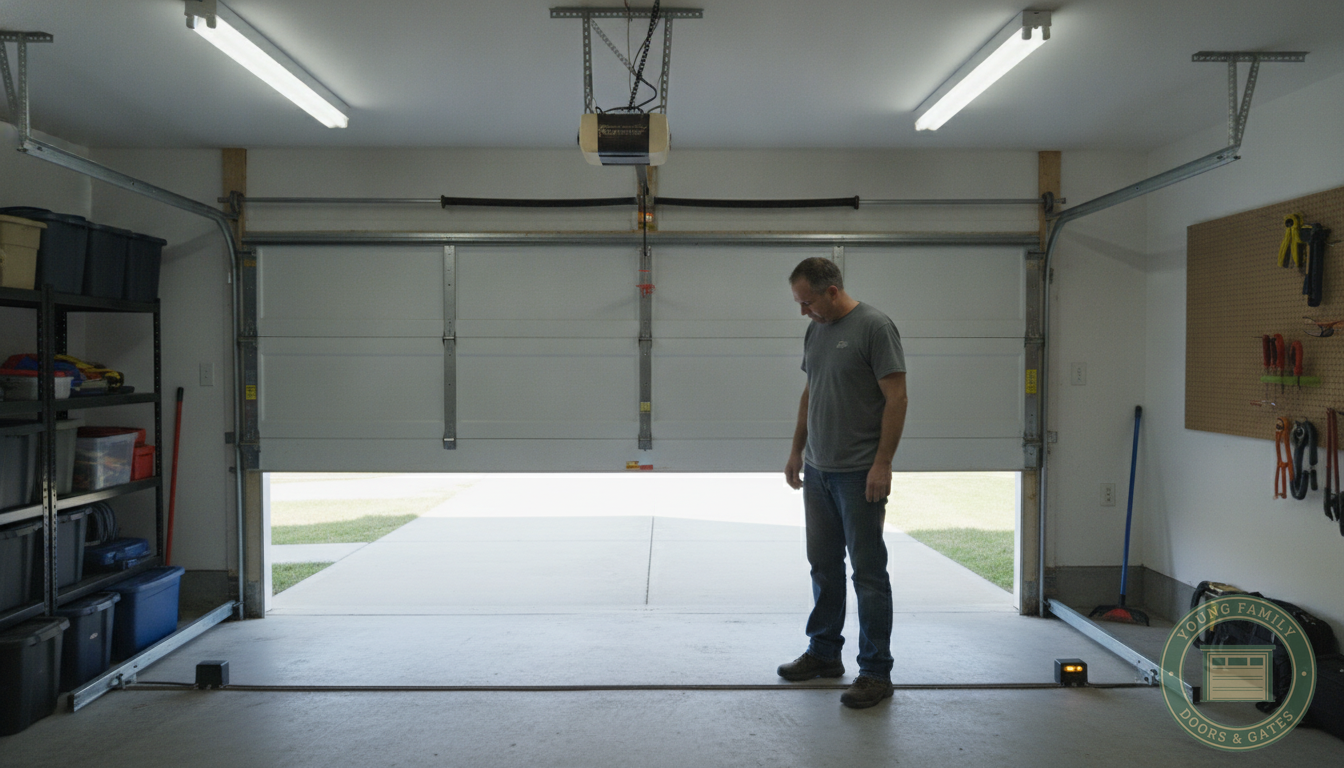
When Your Garage Door Opener Stops Cooperating
Few things are more frustrating than pressing the button on your garage door remote and getting nothing — or worse, watching the door start to move and then reverse for no obvious reason. Garage door opener problems are one of the most common service calls we receive at Young Family Doors & Gates from homeowners across Charlotte neighborhoods like Plaza Midwood, SouthPark, and Myers Park.
The good news is that many opener issues have simple causes you can check yourself before scheduling a service visit. This guide walks you through a logical diagnostic process so you can either resolve the issue on your own or give our technicians a head start when you call for garage door opener installation and repair.
Step 1: Check the Basics First
Before assuming the opener itself is faulty, confirm the following:
- Is the opener plugged in? Outlets in garages can be on GFCI circuits that trip silently. Check the outlet with another device and look for a tripped GFCI button on a nearby outlet or breaker panel.
- Is the wall button working? If the wall button activates the opener but the remote doesn't, the problem is with the remote — try replacing the battery first. Most remotes use CR2032 or 9V batteries available at any hardware store.
- Has someone activated the lock button? Many wall control panels have a "lock" or "vacation" mode that disables all remotes. Look for a lock icon on your wall button and hold it for a few seconds to toggle the mode off.
Step 2: Listen to What the Opener Is Telling You
The sounds your opener makes during a failed operation are clues to the underlying problem:
- Motor runs but door doesn't move: The drive gear or trolley carriage may be stripped. This is common on chain-drive units that are 10 or more years old. The opener hums or runs its full cycle but the door stays put.
- Clicking sounds with no movement: This often points to a logic board or capacitor issue, especially if the unit is older or has experienced a power surge.
- Door reverses immediately after touching the floor: The down-travel limit is set too far, causing the opener to interpret the door hitting the floor as an obstruction. This requires a limit adjustment — a straightforward fix our technicians complete during any opener repair visit.
- Door reverses before fully closing: Nine times out of ten this is caused by dirty, misaligned, or obstructed photo-eye safety sensors. See Step 3 below.
Step 3: Inspect the Photo-Eye Safety Sensors
Every garage door opener manufactured after 1993 is required to have photo-eye sensors — two small devices mounted near the floor on each side of the door opening. They send an invisible beam across the doorway, and if that beam is interrupted, the door will not close. Here is how to check them:
- Look at the small indicator lights on each sensor. One should glow solid (usually green) and the other should also glow solid (usually amber or green). A blinking or off light means the beam is broken or the sensors are misaligned.
- Clear any spider webs, dirt, or debris from the sensor lenses — even a thin layer of dust can interrupt the signal.
- Gently adjust each sensor so they point directly at each other. The indicator lights will stabilize when alignment is correct.
- Check that no object — a garbage can, a bicycle, a garden tool — is crossing the beam path.
If the sensors appear aligned and clean but the problem persists, the sensors themselves or their wiring may be damaged, and a technician will need to replace them.
Step 4: Check the Springs and Cables
Here is something many homeowners don't realize: your garage door opener is only designed to assist with a properly balanced door. If a spring or cable has failed, the door suddenly becomes too heavy for the opener to manage and will refuse to operate or will behave erratically. Before concluding the opener is broken, manually disengage it by pulling the red emergency release cord and try to lift the door by hand.
- If the door feels extremely heavy or won't stay up on its own when lifted halfway, a spring is likely broken. See our spring replacement service for next steps.
- If the door hangs unevenly or you see a loose cable near the bottom corner bracket, a lift cable may have snapped or unspooled. Learn more about cable replacement.
Step 5: Consider the Age of Your Opener
Garage door openers typically last 10 to 15 years with normal use. If yours is approaching or past that range and experiencing issues, repairs can become a cycle of diminishing returns. Newer openers offer significant advantages over older units:
- Belt-drive motors run significantly quieter than chain-drive — a welcome upgrade for Charlotte homeowners with living space above or adjacent to the garage.
- Wi-Fi-enabled smart openers allow you to monitor and control your door from anywhere via smartphone — useful when you're traveling or want to let in a contractor without sharing a code.
- Modern units include battery backup, so a power outage won't leave your car trapped inside.
Young Family Doors & Gates installs openers from LiftMaster, Chamberlain, Genie, and Craftsman and can help you choose the right model for your home. We also handle new garage door installation if you're ready for a full upgrade at the same time.
When to Call a Professional
If you've worked through this checklist and the opener still isn't functioning correctly — or if you identified a spring or cable issue — it's time to call in the professionals. Attempting to adjust spring tension, replace drive gears, or rewire logic boards without the right training and tools creates safety risks that aren't worth taking.
Young Family Doors & Gates serves Mecklenburg County homeowners including those in Dilworth, NoDa, and SouthPark seven days a week from 8 AM to 6 PM. Call us at +19809801813, email [email protected], or stop by 700 East Blvd, Suite 3, Charlotte, NC 28203. Our technicians carry the parts to complete most opener repairs in Charlotte in a single visit.